
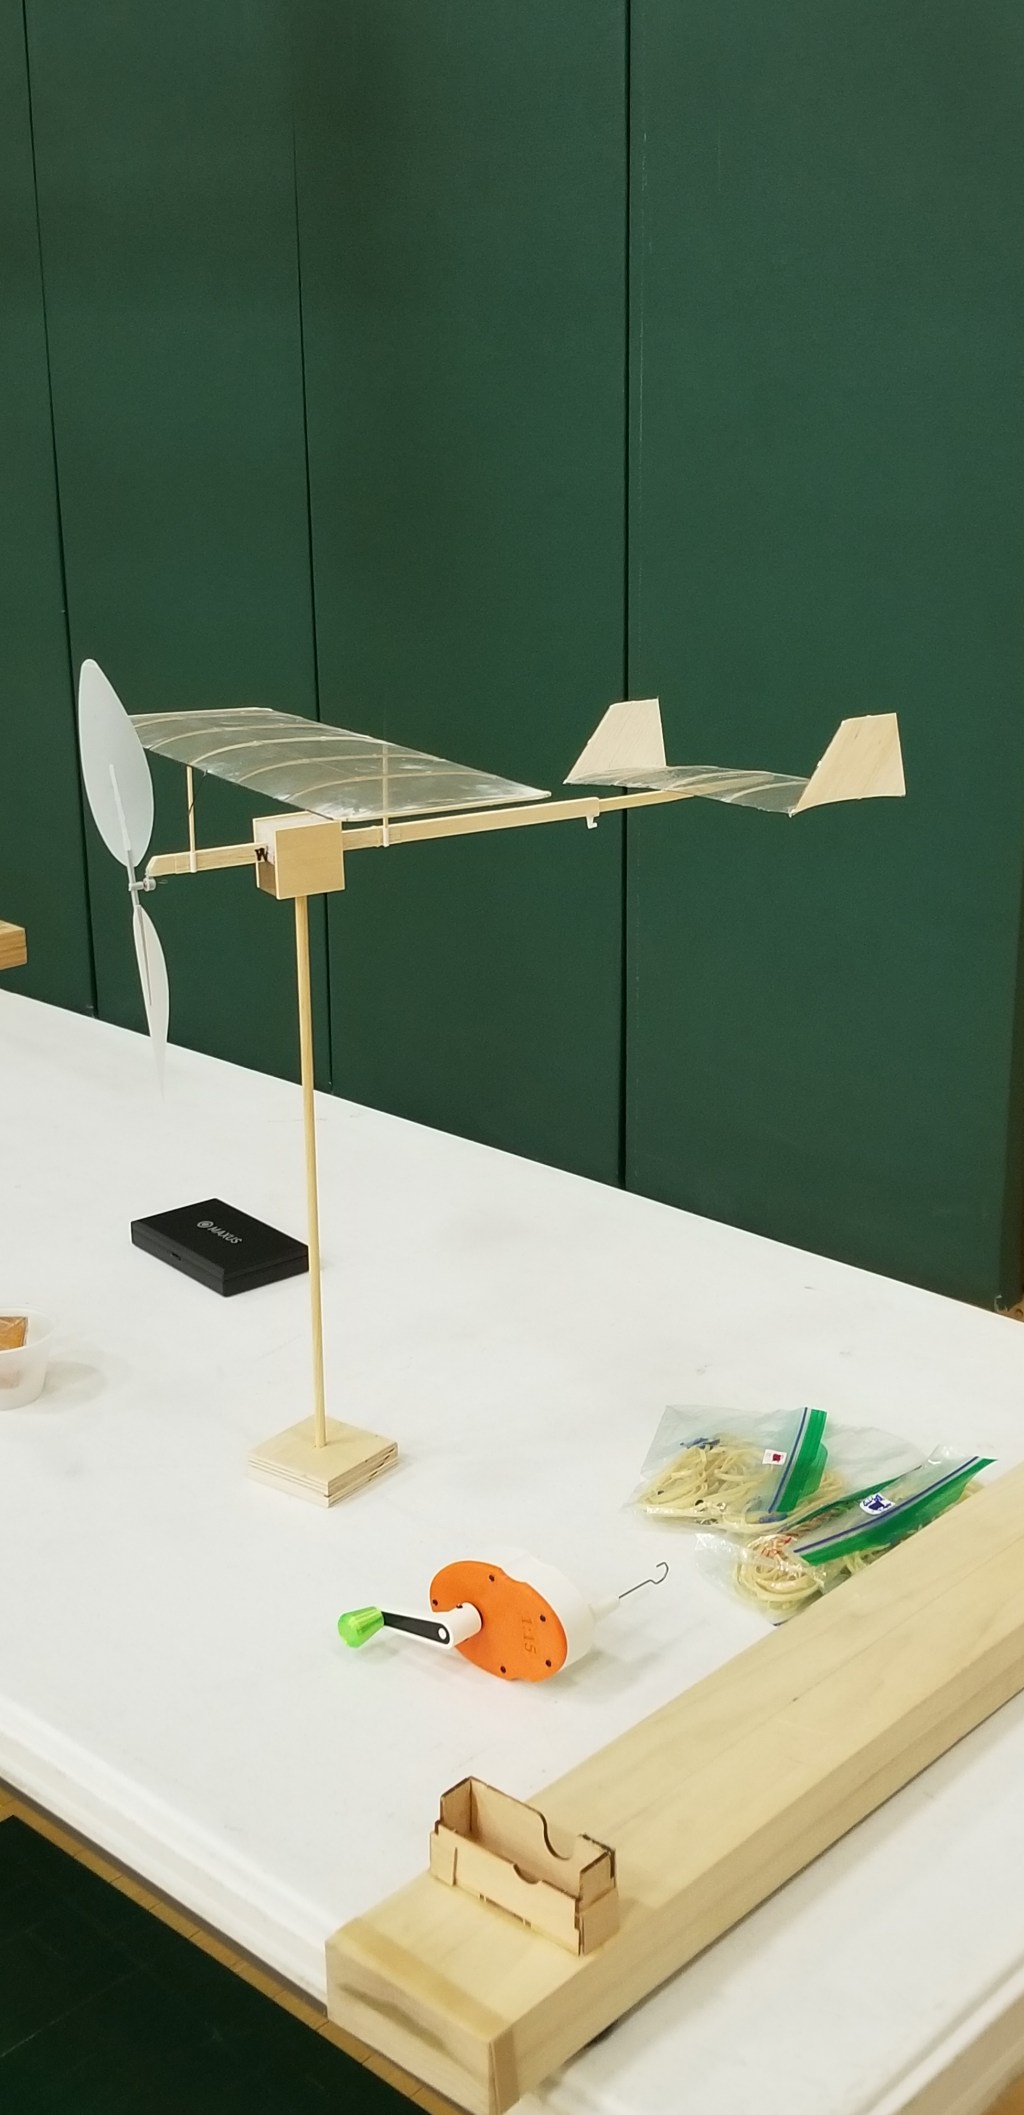
Building a competitive indoor duration flyer takes absolute precision, and even a fraction of a gram or a tiny warp can completely derail your flight time. Based on thirty some Apache24s and recent twenty plus Apache27s airplane build experience, I distilled a few critical points out of the Apache27s Pictorial Building Instruction (which I posted at Thingiverse along with Apache27s design plan and templates) and create a checklist below. An accurate and solid airplane is the crucial foundational step toward winning. This comprehensive checklist should be helpful when you start your new airplane build. Please feel free to send close-up photos if you need a second pair of eyes to check on your build. Happy to!
Essential Build Checklist for Wright Stuff Airplanes
1. Materials & Preparation:
- Strict weight management: Stick strictly to your weight schedule; discard any motor sticks that deviate by even 10% from specification.
- Component balancing: Stick strictly to your designated material sizes; do not swap in heavier alternatives (e.g., use 0.8mm CF rods in the place of 0.7mm) that force you to compromise structural strength elsewhere.
- Strategic wood selection: Use strong basswood or high-density balsa exclusively for high-stress areas like wing posts; reserve lightweight balsa only for non-load-bearing ribs.
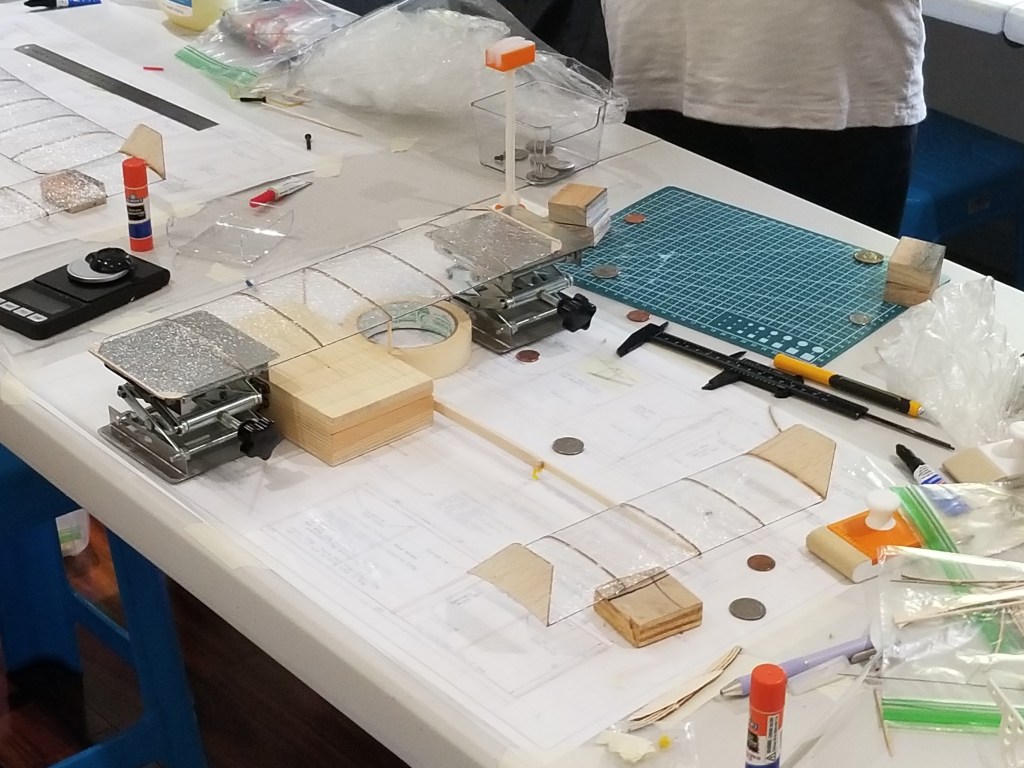
- Reference surface: Build every component flat on a dedicated reference board or table.
2. Tail Assembly (Stabilizer & Rudder)
- Parallel alignment: Ensure the leading edge (LE) and trailing edge (TE) of the tail wing are perfectly parallel to prevent aerodynamic pulling or trimming issues.
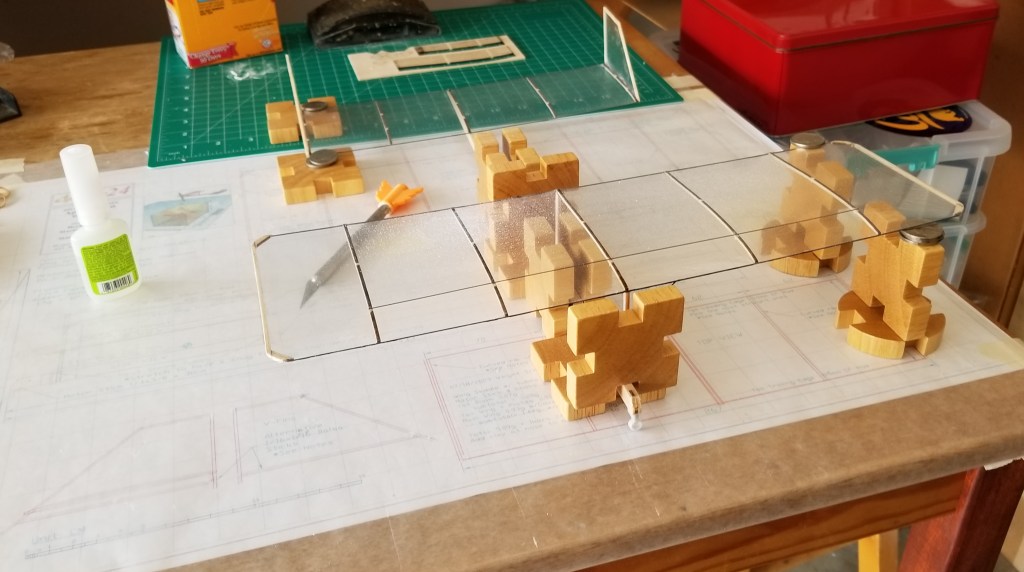
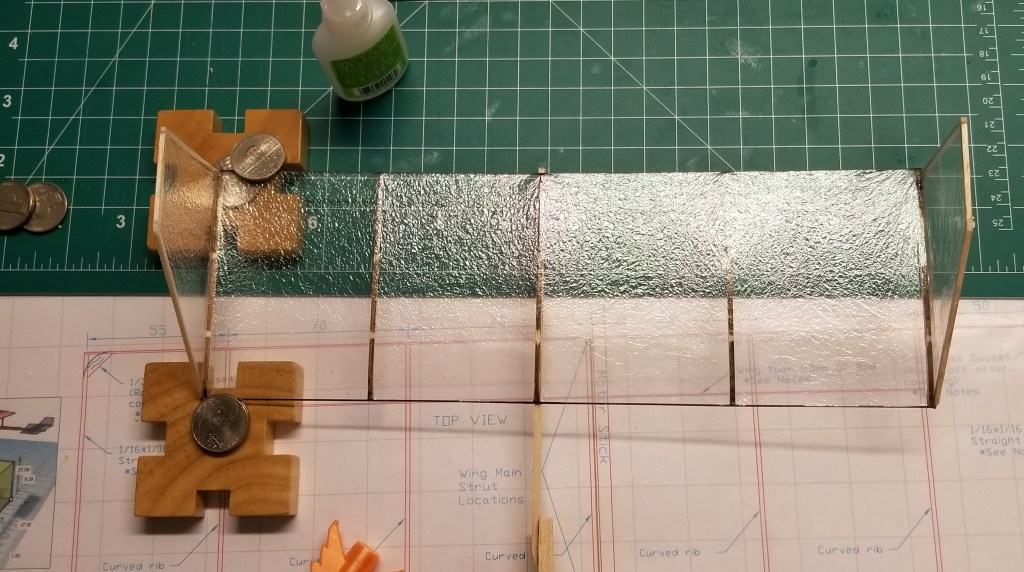
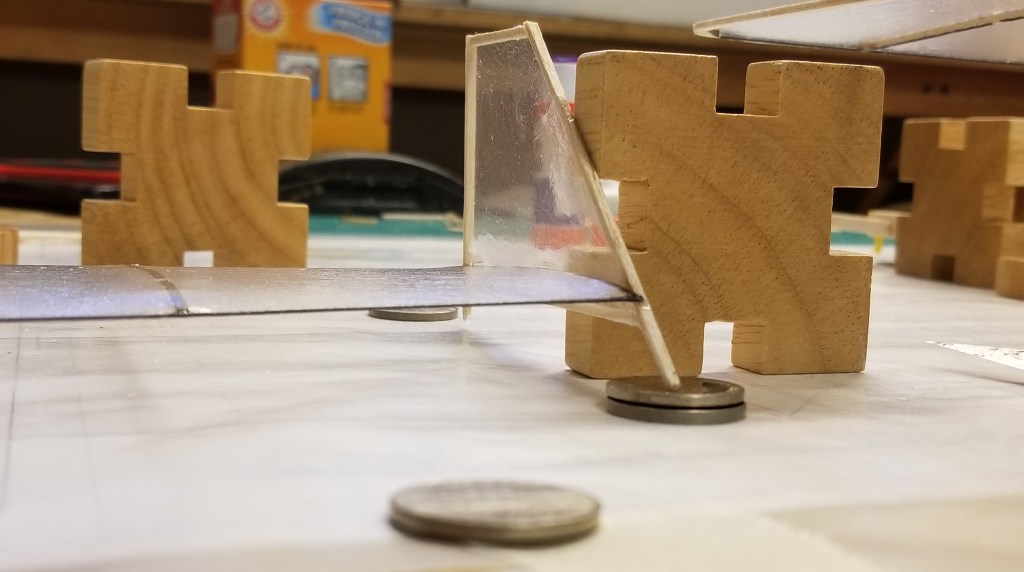
- Twist prevention: Weigh or pin the tail completely flat during assembly as well as after covering overnight to guarantee it remains warp-free. See my other post for more!
- Controlled adhesive: Use sparse, but sufficient, glue at joints to minimize tail weight and maintain proper center of gravity balance. Because CA accelerator reduces bonding strength, reserve it strictly for situations where natural curing is impossible.
3. Wing Construction
- Rib orientation: Position the highest point of the camber closer to the leading edge, and glue all ribs perpendicular to the edges.
- Dihedral precision: Match design specs precisely; uneven dihedral angles will cause an erratic flight path. (Not applicable to Apache27s design.)
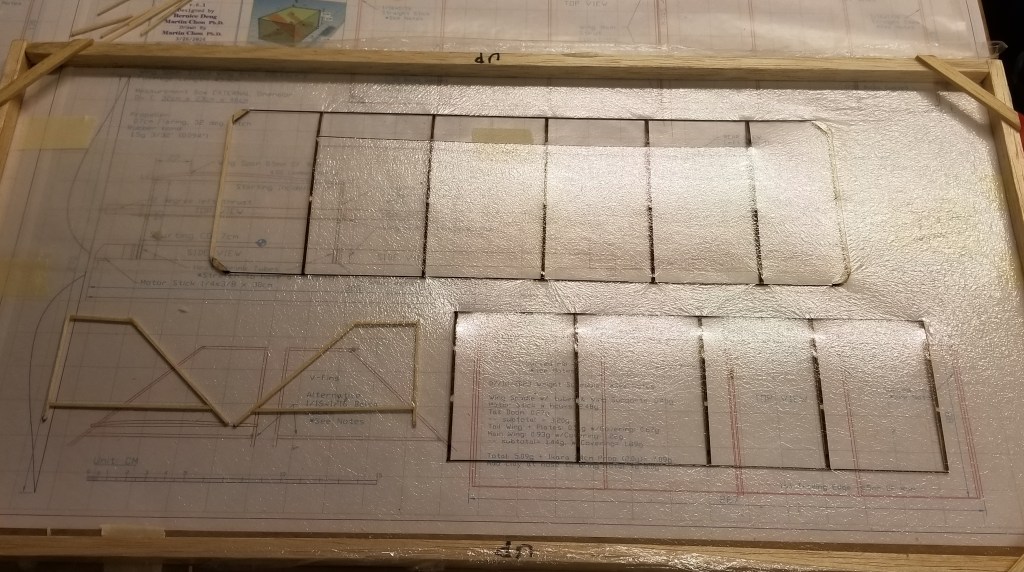
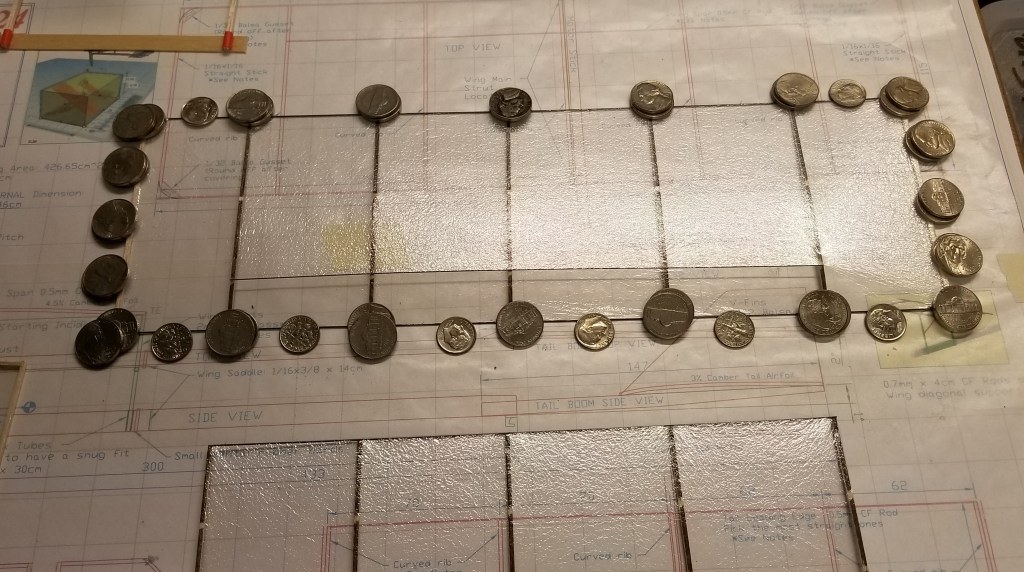
4. Covering (Mylar Film)
- Gentle handling: Never crumple or squeeze the film into a tight ball, as elastic recoil will warp delicate wing and tail structures, rendering the airplane unflyable.
- Covering method: Lower the covering film onto the wing and tail structure on a table rather than pressing the wing and tail structure onto the film, as the latter will twist components and warp flying surfaces.
- Balanced tautness: Apply film so it is taut, but not overly tight, avoiding unintended/excessive wash-in or wash-out, which severely hurts or fails airplane performance.
- Secure edges: Carefully melt away excess covering film using a thread-burner, or tack down loose edges with a glue stick, to eliminate unnecessary drag and maximize flight time.
5. Final Assembly & Integration
- Thrust and angle tuning: Dial in precise motor thrust angles, tail boom alignments, tail tilts, and wing wash-in. Fixing any incorrect angles before your first flight will save you a few crashes—and a lot of headaches.
- Incidence and decalage: Ensure wing and tail incidences match your design plan, maintaining a positive decalage (positive wing incidence relative to a negative tail setting).
- Propeller pitch: Verify that all propeller blades share an identical pitch angle.
- Center of Gravity (CG): Add balancing clay (without the rubber band) to meet the minimum weight spec (8g) and verify CG placement before test flying.
Ready to get it in the air?! Check out my other post on trimming for optimal speed to learn how to dial in your setup and approach the target slow speed for the longest possible flight time!
Good luck!
-AeroMartin 8/28/2026


Leave a Reply